Solar Energy Science Projects for Kids
July 2, 2019
This summer, there’s no doubt your kids are outside enjoying some fun in the sun. Turn one of the season’s most prominent features into a memorable learning experience by studying everything about the sun and solar system!
Naturally, one of the most exciting sun-related facts is regarding fascinating solar eclipse science. Unfortunately, with only three upcoming eclipses in 2019, none of which are visible in the United Sates, this year doesn’t present a good opportunity to observe one. So, what can a parent do to teach children about solar science? Look no further than solar energy and outer space!
Let’s break down each topic individually to discover what fun facts your child should know and take a look at some experiments and project ideas to play around with this summer!
Solar Power Facts Every Kid Should Know
Energy powered by the sun is a hot topic these days thanks to the need for alternate electricity sources due to climate change. This fact alone makes it critical that kids learn about the potential of solar power to light our world since the sun is a natural source of energy!
You might be wondering what your kids should understand before tackling solar science activities. Check out the following fun facts about solar energy that your kids will love:
- Humans have been using the sun for thousands of years! Some uses include telling the time, cooking, heating, and drying clothes.
- Many everyday devices already use solar power, like calculators, swimming pool heating covers, pedestrian traffic lights, and school zone flashers.
- It’s not the bright light that creates energy, it’s the heat!
- Some people are adding solar panels on top of their houses to give them electricity without having to pay an electric bill.
- Spacecraft and equipment on the International Space Station use solar power.
- There’s enough energy to power the entire Earth’s electricity needs if we were to install enough panels across the globe!
Solar Energy Science Activities for Kids
Now that your kids know a little more about the vast powers of the sun, discover the following fun-filled science activities:
Build a Solar Stove
Can you really cook an egg on the sidewalk during hot summer’s day? Maybe so, but there is a much more efficient (and cleaner!) way to do it. Create this solar stove to cook food, much like an oven. Try it out with cookie dough, s’mores, or go ahead and try making that fried egg!
Supplies Needed:
- Pizza box
- Aluminum foil
- Plastic wrap
- Clear tape
- Box cutter (parental guidance recommended)
- A ruler
- 1 paper plate
- Food to cook, like the items mentioned above!
What to Do:
To get started, close the empty pizza box with the lid and using the box cutter, cut a square-shaped flap into the top of the box, about 2 inches from the sides and front. This flap will be pulled and propped up with the ruler later on.
Next, using the foil, wrap the interior of the box, and the bottom surface of the flap, ensuring that the shiny side is facing out.
Lift the top of the box up and wrap the opening that the flap left with plastic wrap and tape it into place underneath the lid. Close the box top again and lift the flap up and prop it with the ruler. This will reflect the sun’s rays onto the food below it.
Finally, place the food you’re cooking onto the center of the paper plate and place it inside the opening of the box, underneath the flap, but on top of the plastic wrap that is taped to the underside of the cut box top. Depending on what you’re baking, your climate and how hot it is on the day of your experiment, it might take anywhere from a half hour to a few hours to cook the food. Keep checking in 30-minute intervals throughout the day to see if it is done. Don’t forget to discuss with your child how the sun’s heat is being intensified through the use of foil to cook your treats!
Make a Solar Night Light
This simple project will give your kids a useful tool they can use over and over again! Use nightlights for evening stories, or light up an evening picnic with these delightful solar jar lights.
Supplies Needed:
- Large-mouth mason jars
- Solar pathway lights—try to find lights that have a diameter that will just fit into the mouth of the jars
What to Do:
To get started, disassemble the pathway lights by taking to top off and removing the plastic strip that protects the battery pack, as directed by the product instructions. Then, place the solar panel in the sun for at least a full day. Feel free to discard the rest of the pathway light pole, as this will not be needed for the project.
In the evening after being left in the sun, fit the solar panel piece connected to the light unit into the top of the mason jar. Because it was sitting out all day, the light should already be illuminated. Give it to your child and have him or her take it with him to bed or use at an outdoor evening party. Discuss with your child how the sun fueled the battery pack inside making the light shine.
Making a Solar Panel or Cell
If your older child is ready for a challenge and a treat, it’s time to take on making a homemade solar cell! While commercial solar panels are made of materials that can only be made in a factory, you can make another version using some basic materials found at your local hardware shop.
Supplies Needed:
- A sheet of copper flashing, about a half a square foot
- 2 alligator clip leads
- A micro ammeter
- An electric stove; if you have a gas stove top, consider purchasing an electric table top burner
- Large-mouth mason jar
- 2 tablespoons salt
- Sheet metal sheers to cut the copper
- Sand paper
What to Do:
Before beginning, wash your hands to ensure that any oils are completely cleaned off hands before touching the copper sheet. Next, cut the copper sheet into a rectangle or square-shaped piece about the size of your electric stove burner. Turn on the burner to high.
Don’t worry about the changes you are seeing in the copper, as this is normal! You should see orange, purple, and red hues as the oxidation process begins. As it gets even hotter, you will notice that the copper is turning black. This is cupric oxide, which will flake off later. Let this cook for at least a half hour to ensure the black coating is thick.
After the half hour is over, turn off the burner and let the copper sheet sit to cool down. Do not remove it since it needs to cool slowly for about 20 minutes or so. You’ll start to notice the cupric oxide flaking off the copper in large pieces. After cooling, remove any additional black flecks off by running it under cool water and using your hands.
Next, cut another piece of copper about the same size as the first. Bend it and fit it inside the mason jar, near the top and attach it with an alligator clip lead. Do the same for the cooked copper, making sure that the side that was facing up on the burner is facing out. Attach this sheet opposite from the new piece of copper and attach with the other alligator clip lead.
To continue, take the other end of the lead that is attached to the new copper piece and plug it into the positive terminal of your micro ammeter. Connect the other lead that is connected to the cooked copper to the negative terminal of the device.
Finally, mix the salt into hot tap water and carefully pour it into the jar without getting the leads wet, but filling up the jar, leaving just about an inch of the copper plates above the water. Position the jar connected to the micro ammeter towards the sun and watch the needle on the device! Record the microamps of electricity being generated by the sun’s energy!
Fun Solar System Facts Your Child Will Love
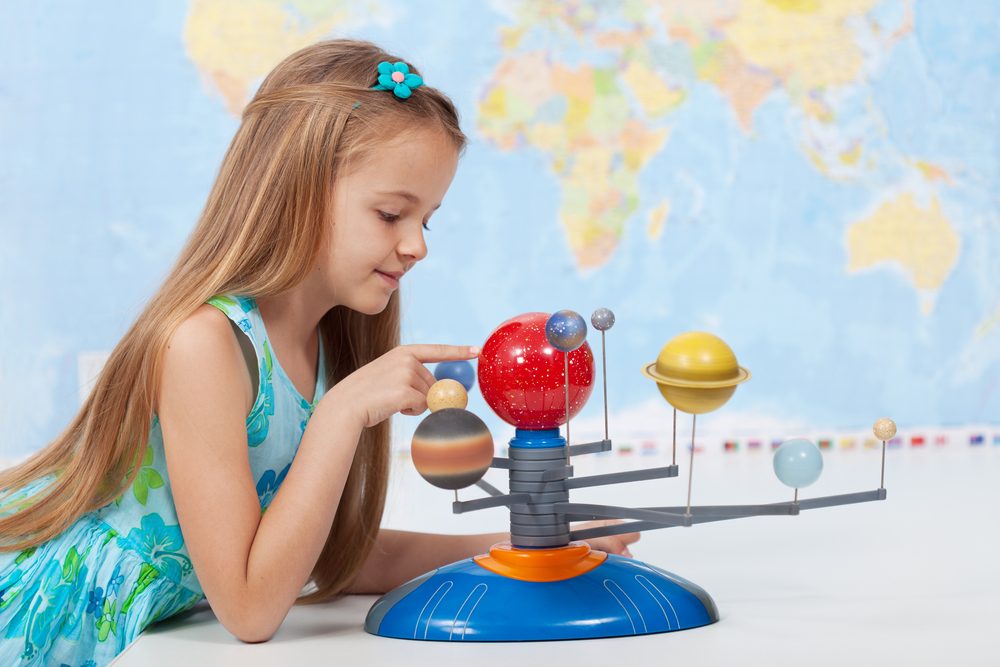
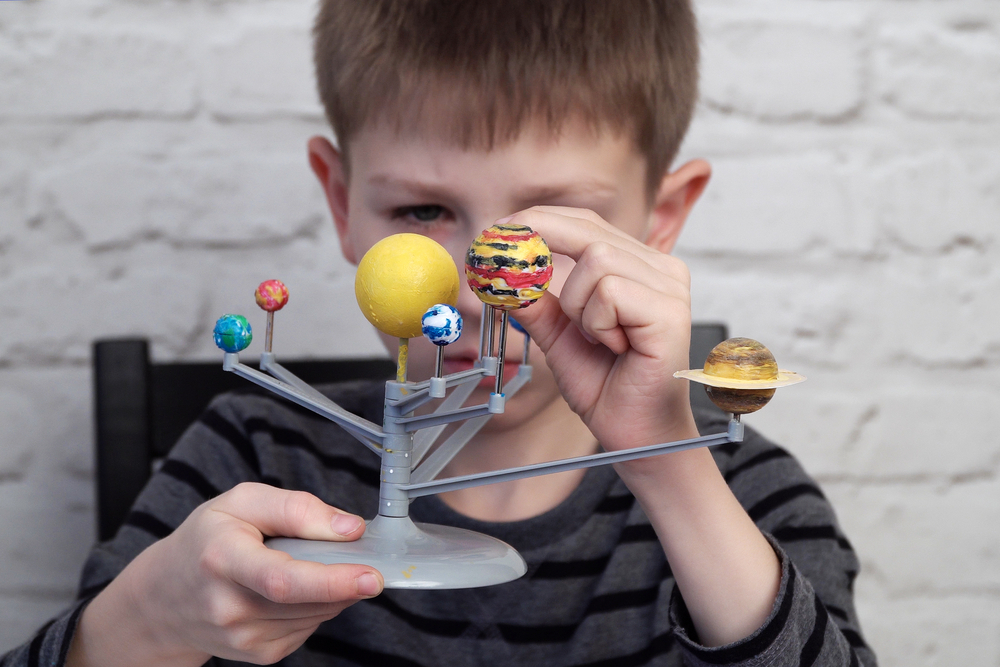
Once your child has explored solar energy, move on to another fascinating sun-related topic: the solar system! As most children already know, the planets including our own revolves around the sun. To find facts that your child probably doesn’t know, check out the following:
- Our solar system also includes flying objects like asteroids and meteorites
- We have 5 dwarf planets as our faraway neighbors: Pluto, Ceres, Eris, Makemake, and Humea
- The sun produces a wind that isn’t the same as the wind here on Earth!
- It takes about 8 minutes for the light from the sun to reach our planet
- The sun is so big that it makes up about 99.86% of the mass in our solar system!
- Our solar system was made about 4.6 billion years ago!
- The sun isn’t just any ball of gas! It is made up of several layers and includes a core, just like Earth. The top layer is called the corona and cannot be seen by the naked eye! It can only be viewed during an eclipse, and only after using the right equipment.
Solar System Science Project Ideas
Now that you’ve got your child’s attention, it’s time to get started on exciting science projects. Below are unique ideas to keep your little scientist busy this summer:
Pegboard Layers of the Sun
Try this creative project to teach your child more about the sun! Make and label its layers without ever cutting a single Styrofoam sphere.
Supplies Needed:
- Large round Perler pegboard
- Red, yellow, and orange Perler fused beads; try to find a several multipacks at your local arts and craft store
- Materials to label the layers, like printed labels
- Hot glue gun
What to Do:
To get started, make sure your child knows the three major layers of the sun that kids should learn, which include the core, the radiative zone, and the convective zone. Sure, there are many more details, but kids are just learning the basics. Make the labels ahead of time so they’re ready to go when it’s time to glue them on the model.
Next, get started with the pegboard. Take the board out of its packaging and use the beads as the small core in the middle, the yellow as the inner ring, and the orange beads as the outer layer of the sun. Be sure to make the outer convective layer a bit thinner than the inner radiative zone.
When the model is constructed, follow the instructions on the Perler bead package. It will give specific product-related directions for fusing the beads together using an iron.
After the beads are fused, use the glue gun to adhere the labels to each layer. For older children, break down the sun into further details, like corona spots, and make a model that reflects specifics about the sun!
Tap Light Solar System
Just think- now your children could review the solar system each night before bed by simply tapping on these adorable lights! Your kids will glow with excitement while completing this exciting solar system project!
Supplies Needed:
- 10 push lights; multipacks are available at various retailers
- Glass paint in a variety of colors and paint brushes; Folk Art Enamels work the best!
- Mod Podge
- Batteries for lights- check the packaging to see what size and how many are needed
What to Do:
Make sure to protect the area with newspaper or drop clothes that are appropriate for a messy afternoon of painting! When ready, take out the push lights and organize them deciding which will be what planet. Prepare the lights by placing the batteries and test the lights to ensure they are all in working order.
Choose the paint colors for each planet and get started painting one planet at a time! For instance, use blue and green for Earth, and a mixture of red with some orange for Mars, etc. To make some planets look smaller, use black paint and cover the sides and rims of the tap lights to make the colored surface smaller. Continue until all the planets are painted, including the sun, and optionally Pluto and Earth’s moon. Set aside to dry.
When the lights are dry, cover the lights with a thin coating of Mod Podge to “set” the paint to prevent it from flaking off when the buttons are pressed. Place the lights in the desired room, sticking them to the wall to form the solar system. Close any blinds and curtains and turn the lights on to view the solar system in a dazzling new way!
Try the above experiments and projects and watch as your child spends each sizzling summer day having a blast while learning. And don’t forget, for extra practice, turn to kidsacademy.mobi for quality learning resources and materials!


