4 DIY Ideas to Make Your Halloween Extra Special
Oct. 15, 2024
From Mexico’s Día de Los Muertos to China’s Teng Chieh Lantern Festival, cultures around the world commonly recognize a celebration in honor of the dead. In America, that holiday is best known as Halloween, and while it’s not a federally recognized holiday that results in a day off from school, it is a much-loved celebration that both kids and adults look forward to during the entire month of October.
Like many holidays, Halloween has evolved from ancient pagan customs, with this one originating in Ireland long ago. Samhain was a Gaelic religious festival that celebrated the end of the harvest season and to mark the beginning of winter.
Today, Halloween is largely celebrated as a secular holiday in the United States and is especially fun for kids as they dress up in costumes to go trick-or-treating. But just like the Christmas season, Halloween enjoys its own lead-up to the big day. Families often prepare by decorating and participating in activities like haunted houses, hayrides, or carving pumpkins.
This year, make your child’s Halloween extra special by crafting DIY decoration and treats, which can make for rewarding family time while also saving money and being environmentally conscious. We hope you enjoy the following 4 DIY ideas to make your kid’s “spooky season” even more delightful.
Devilish DIY Ideas to Make this Halloween Special 🎃
1. Halloween Popsicle Puppets

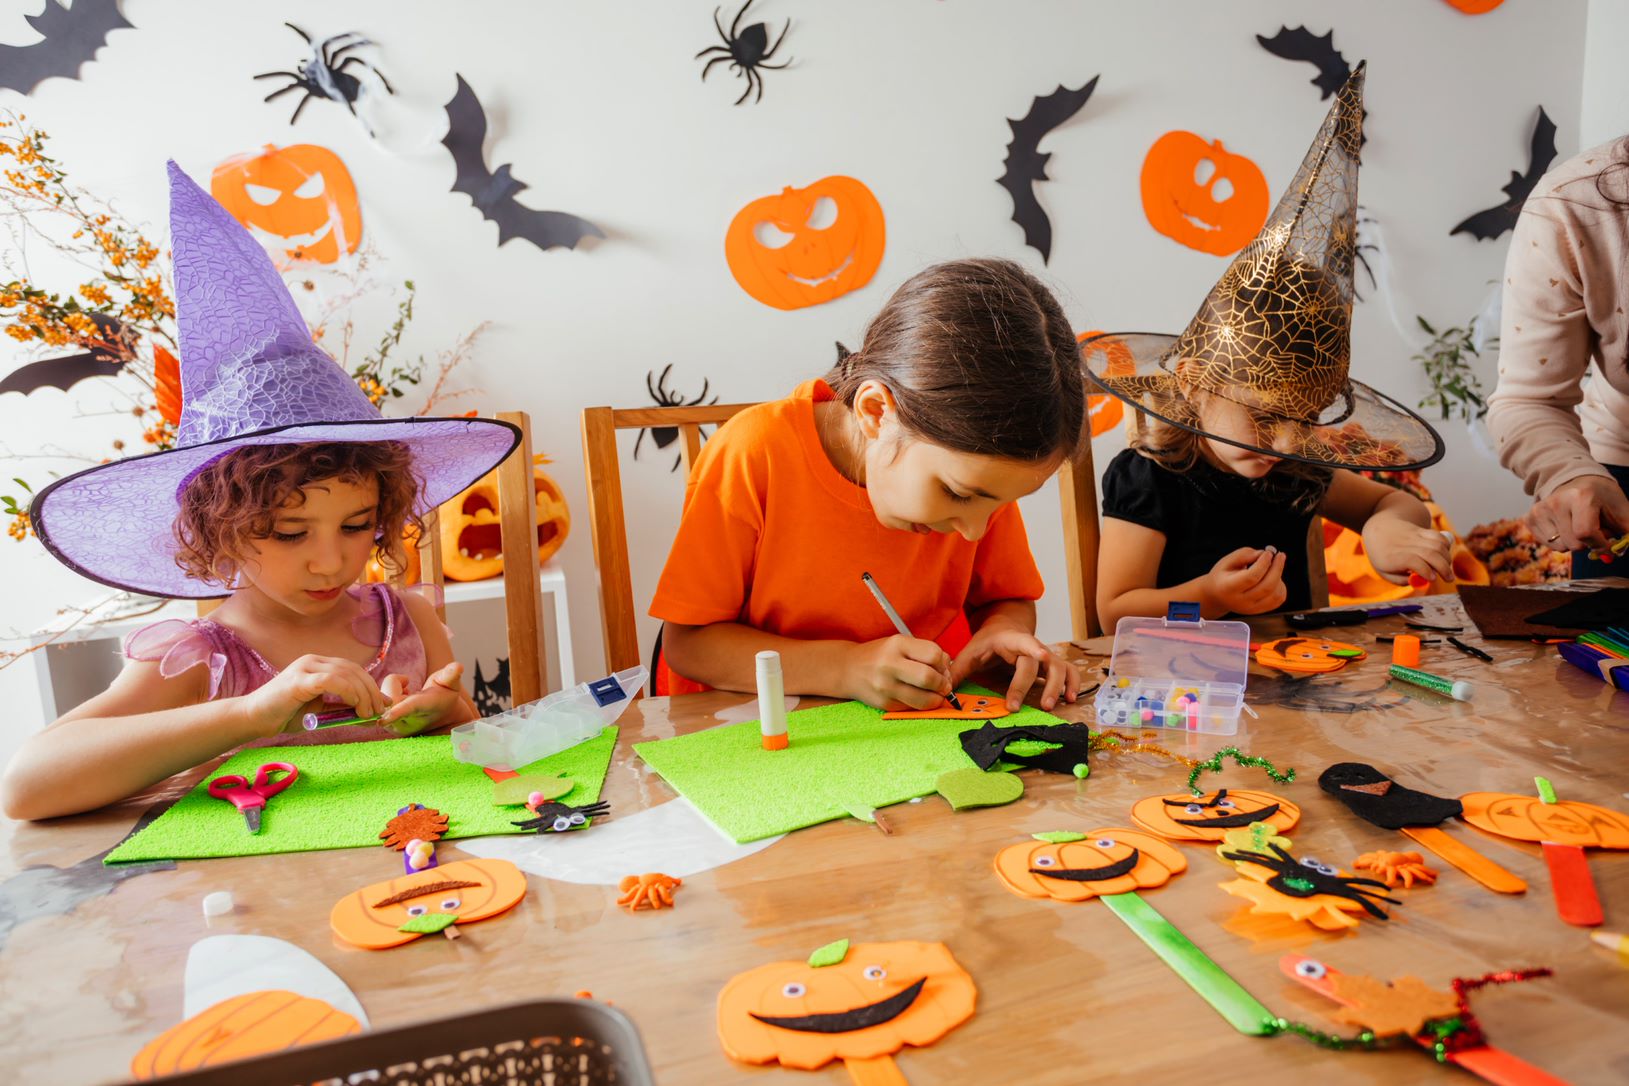
What can’t you do with craft sticks? With this simple and versatile craft supply, kids can create their very own stick puppets that will keep them busy for hours.
Supplies needed:
- Jumbo craft sticks
- Acrylic craft paint in your choice of Halloween colors
- Craft glue
- Paint brushes
- Black permanent marker
- Small googly eyes
- Pipe cleaners
What to do:
With popsicle puppets, what your child creates is solely up to him or her! Starting ideas include mummies, a Frankenstein, ghosts, or a Jack-O-Lantern.
To get started, first help children paint the sticks by applying two coats of acrylic paint to the entire stick, both front and back. If creating a Jack-O-Lantern, paint the stick orange; ghosts and mummies are white, and a Frankenstein would be green.
After the paint dries, decorate the sticks to look like characters! Glue the googly eyes in place for ghosts, mummies, and a Frankenstein, while drawing triangle eyes for the Jack-O-Lantern using the black permanent marker. Give the characters any detail you like using the marker and wrap the mummy using a white pipe cleaner. Once finished, encourage kids to think of cute ideas for a Halloween puppet show to put on for family.
In the meantime, if your learner needs something to do while waiting for the paint to dry, watch this adorable Halloween-themed video featuring the nursery rhyme Hickory Dickory Dock.

2. Haunted Halloween Luminaries

Many of us remember making paper bag luminaries as kids, but they don’t tend to last very long, and present a fire risk if real candles are used to light them. Instead, create these ghoulish glass luminaries that can serve as a festive decoration for indoors or out!
Supplies needed:
- Mason jars
- Acrylic paint
- Rubbing alcohol
- A can of Krylon clear glaze spray
- Paint brushes (a flat brush recommended)
- Tea lights
- Black permanent marker
What to do:
Start by cleaning the jars with dish soap and water to prepare them for painting. Be sure to thoroughly rinse them to avoid leaving any residue and rinse them in rubbing alcohol to help the paint adhere to the glass. Leave them on the counter to air dry.
Once dried, wash your hands thoroughly to remove any natural oils or dirt, as this can disrupt the paint’s ability to stick to the glass.
Paint the outside of the glass jar using a flat paint brush; only paint 1 coat over the jar to allow light to shine through the paint. Once the paint is dry, use the permanent marker to draw details, such as a Jack-O-Lantern face, or create a monster face!
When finished, spray with the glaze and let dry for at least 30 minutes. Apply a second coat of glaze and set it out to dry for several hours. Because this project requires some downtime, why not offer your child a fun Halloween activity from Kids Academy? Try this spooky math worksheet to keep your little learner busy in between coats of glaze:
Once completely dry, place a tea light in the jar and light it up! Decorate the front porch or place them in a window on a dark evening and enjoy these decorative and festive luminaries!
_________________________________________
Get a discount on an annual subscription!
_________________________________________
3. Painted Monster Stones

Dress up the garden or the front porch for Halloween with these adorable painted monster stones! All you’ll need for this budget-friendly project is acrylic paints in a variety of colors, a permanent marker, paintbrushes, googly eyes (optional), and of course: stones!
What to do:
Part of the fun is simply heading outdoors to find the perfect stones to paint! Head outside with your child to hunt for the perfect rocks around your home. Try to find stones that are somewhat flat or smooth to make painting and face creation easier.
Once your little artist has all the right rocks, head back indoors to start painting them solid colors. Give them monster faces by giving them a single (or maybe 3!) googly eye or draw them on using the permanent marker. With this idea, there is no limit to the type of spooky monster your child can create!
Once finished, pair this project with friendly and funny monster coloring worksheet from Kids Academy:
4. Make White Chocolate-Covered Strawberry “Ghosts”

Offer up this frightful and healthy treat during your family’s pumpkin carving, or just as a Halloween-themed dessert! All you’ll need from the store is a package of fresh strawberries, mini chocolate chips, and white chocolate chips.
What to do:
Melt the white chocolate chips in a small bowl by placing them in the microwave and setting it to 50% power for 20-30 seconds. Stir and repeat until the chips are melted.
Dip the strawberries into the white chocolate and set on a sheet of parchment paper. Give them eyes and a mouth by placing the mini chocolate chips upside down into the white chocolate. Allow the strawberries to dry before eating them. While waiting for them to harden, entertain your little learner with this ghostly maze:
Make this Halloween one to remember! By crafting DIY decorations and treats, you can spend quality time with your family while also saving money on the pricier store-bought products. Try the above ideas to get your kids in the right mood for this year’s spooky season and turn to Kids Academy to offer a selection of ghoulishly themed learning materials that will keep your kids busy learning while having a frightful amount of fun!


