10 Best DIY Back to School Supplies
Aug. 15, 2023
It’s almost that time of year again, and if you’re like many parents, you might be eagerly awaiting the moment the classroom doors open once again. For children, however, the end of the summer can bring on a case of dread, or even anxiety, especially for older kids who aren’t ready to leave fun in the sun behind!

No matter your family’s feelings about going back to school, something you might not be so excited about is the huge expense that the back-to-school season brings. Let’s face it, supplies are expensive, and the list seems to grow longer with each passing year! Between clothes, shoes, pens, and pencils, it’s easy to see how the expenses add up! For families with multiple children, heading back to the classroom can seriously mean busting the budget and sapping your savings!
So, what can parents do to get kids hyped for school without breaking the bank? The answer is simple: DIY back-to-school supplies! Using inexpensive items from discount stores, it’s easy to dress up notebooks, pencils, and more with craft supplies you already have around the house. If you’ve been following our posts, you might have noticed articles with step-by-step instructions for various crafts ideas. Many of our projects use similar materials, but be sure to have the following craft necessities on hand:
- Scissors
- Mod Podge
- Acrylic paint and paintbrushes
- Permanent markers
- Construction paper
- Colorful Washi or duct tape
Below we’ll outline some simple steps to take to prepare your home and your kids for the academic year, while revealing our 10 favorite DIY projects!
Step 1: Optimize the Home Office
When most parents tackle the supply list, they understandably prioritize the necessities kids will use in school, often forgetting that they will need a space and materials to work on homework. Transform your home office into an academic area to set the right environment for learning!
Hand-Painted Pencil Jars
Keep your child’s home desk tidy using these adorable Mason jar pencil and supply holders. For this project, use acrylic paints or optional chalkboard paint, and permanent marker or stickers to decorate.
First, using two or three clean Mason jars, decide what design to use. Make them school-themed by painting the jars to resemble a pencil, chalkboard, or ruler. Kids may also want to use their own creativity to create decorative jars with different colors or designs! Follow your child’s lead and get to work painting the entire jar. Attach stickers or draw on designs using the permanent marker after the paint has dried. Optionally, you may choose to “distress” the paint before sealing by lightly scuffing some of the surface of the jar with a small piece of sandpaper. Afterwards, spray an enamel sealant to lock in your child’s hard work.
To finish, remove the top insert from the jar’s cap and screw the lid onto the jar. Place pencils, pens, rulers, markers, or any other at-home supplies into the jars to organize the space to perfection!
The best way to get kids ready for heading back to school is with exciting educational games, videos and worksheets from Kids Academy! Create your free account today to personalize your child’s learning and monitor your child’s progress!
Upcycled Desk Organizer
Still need a space for extra supplies like sticky notes, paper clips, or erasers? This cute upcycled organizer is a cinch to create, and kids will love personalizing it with designs of their own!
Before getting started, head to the grocery store. You’ll need to get a box, which most grocery stores give out for free. Head over to the back-to-school section and find the composition notebooks. Most stores display composition notebooks with 25 or so in each box. These boxes display the notebooks, so they have the front and top cutout, with an edge at the bottom that remains. Remove the notebooks, or buy them if you need them, and take the box. Don’t forget to let an associate know what you’re doing before you leave!
Once at home, use either colorful duct tape or wrapping paper to cover the box entirely. If using wrapping paper, simply use Mod Podge to secure the wrapping paper onto the box. Help your child decorate the front with stickers, ribbon, or bows. Use permanent markers or letter stickers to include any motivational messages you think might be effective. Finally, use the box to collect extra supplies and place on the desk for yet another adorable way to decorate the homework space!
Checking off a list of school supplies while packing a school bag is an important step to help your kids get ready for the first day of school. Watch our fascinating video and choose all the essentials your little ones need to take with them.
Step 2: Get Ready for Learning on the Go
Whether kids are reading and studying at home, school, or even on the bus, make sure to have the essentials to keep your child’s assignments and books organized! Utilize these cool ideas that can be easily be placed in a backpack:

Easy DIY Planner
It’s important that kids learn to use a planner as soon as they can read to help them understand the importance of completing assignments, as well as learning organizational strategies. Unfortunately, most districts only offer planners to purchase for middle school and above. Luckily, you and your child can make a kid-friendly one in minutes!
There are many options to create a planner that range from printing out pages, using blank printer paper, or by heading to the store to get a kit that includes calendar inserts. Also needed will be a small binder, and a hole punch. Optional items include divider pages, clear pockets, or stickers. Decorate the front using Washi tape, or original artwork. With this project, the sky is the limit! Simply bounce this idea off your creative little learner and get planning to determine how and with what to customize your child’s DIY planner.
Once finished, pop it in your child’s backpack, and make sure to check it for assignments each night. Encourage kids to write in it and check it often to build organizational skills.
Easy Origami Corner Bookmarks
Bookmarks are so easy to personalize, but there’s no need to buy blank bookmarks or even a kit! Using construction paper or cardstock, it’s simple to make funny animal or monster-themed corner bookmarks without buying anything extra. Make a bunch to keep on-hand to for use at both home and at school.
Origami is the art of folding paper to make objects, so it will require your child to fold paper into place just right to make the end product. Because of the nature of this project, it’s easier to learn how to make the bookmarks using a visual aid. Simply navigate to YouTube and type in “origami bookmarks” to find a whole host of tutorials that teach children how to make specific types of animals or monsters. Choose a design and get to work, making a small stash to keep in your child’s desk.
DIY Earbud Case
You might have noticed that many back-to-school lists now include a pair of ear buds. That’s because more districts are utilizing computers and tablets for learning lessons and skills testing. Even if your district is not tech savvy, kids love listening to music on the bus or while walking home. To keep these earbuds in one spot and tangle free, repurpose an old breath mint container. Any mint case will work but find a plastic one if you’d like to punch in holes to connect a keychain.
To decorate, select colorful wrapping paper and cut out two circles to cover the front and back of the container. Using Mod Podge, attach the wrapping paper circles to the top and bottom. Optionally, add a keychain by poking holes along the side, and label your child’s name using a permanent marker. That’s it! Make more containers for multiple pairs, and place these cases in your kids’ backpacks to keep earphones safe and tangle-free!
Watercolor Backpack
As a parent, you might balk at the price of new backpacks! It seems that kids need a new one each year, and it’s a dizzying task to pick a durable and cute one that won’t cost an arm and a leg. Instead, why not help your child to design her own? This easy-to-make water color backpack is the perfect solution to avoid overspending while offering up an adorable bag!
First, you’ll need to pick up a basic white backpack. When ready to begin, lightly mist water all over the backpack so that it is slightly damp. You don’t want it to be soaking wet, but the idea is to make it damp so the colors bleed for a watercolor effect. Use fabric markers in the colors of your child’s choice to color in the bag, alternating colors. Don’t worry about saturating the bag with ink and scribbling in spots is just fine. After a small portion of the bag is done, spray more water over the colored areas. The more water that is used, the more the ink colors will bleed together creating that unique watercolor look. Continue this until the backpack is finished. Dry it to seal in the color by placing the backpack in the dryer on low heat.
Step 3: Secure the Necessities for At-School Learning
Most kids spend between six and eight hours at school each day, five times a week! With all that time spent away from home, there’s no way for to help kids once they step foot in the classroom. That’s why it’s important to give children the tools they need to stay organized and work their hardest! The following ideas are geared towards must-have supplies to keep at school:
Motivational Pencils
Communicate your love and motivate young learners even when you’re not there! Make these cute pencils with positive messages to keep them going during quizzes and tests!
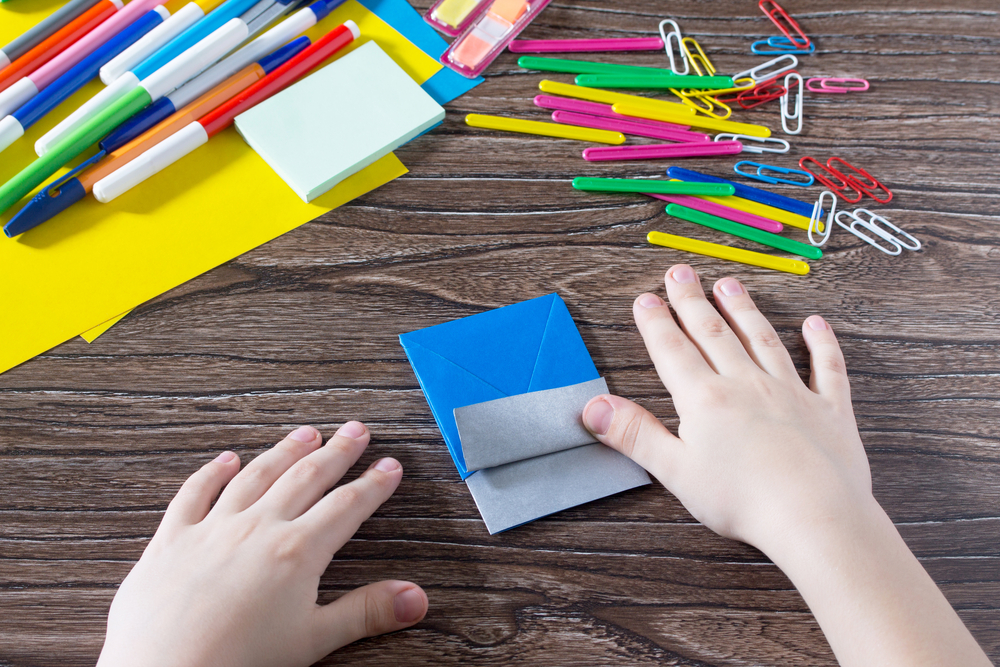
All you’ll need for this project will be pencils, acrylic paint, and fine-tipped permanent markers. If you wish, use Washi tape for some pencils to give them a cute design or pattern. To get started, paint each pencil in the selected colors and let dry. For pencils with Washi tape, skip the painting and just wrap the tape around the pencil until it is covered. Once the paint is dry, use the permanent markers to write inspirational messages on the pencils. Surprise your kids throughout the year, placing a motivational message in his or her backpack to give your children a boost through any stressful time!
DIY Pencil Cap Erasers
Are you sick of pencils being wasted once the eraser wears down? Many students opt to trash their pencils long before they’re used up. To solve this problem, make a batch of pencil caps your child can use throughout the academic year.
Eraser clay kits are inexpensive and found at large retailers like Amazon, or Walmart. After selecting a kit, kids may mold the clay into any shape, even adding colors and using tools, as if they were working with playdough. Be sure to build in a hole large enough to fit the top of the pencil, and once kids are satisfied with the eraser, follow the instructions on the package to bake the erasers in the oven to finish. Make a stack of DIY erasers to keep at school!
Easy Stamped Pencil Pouch
Don’t know how to sew? No problem! If you don’t want to fuss around with sewing and zippers, simply go to your local dollar store or check out Amazon to purchase a plain canvas pencil pouch. Use fabric paint and stamps to create a unique design for a super quick pencil pouch that is both cheap and easy to make!
Chalkboard Notebooks
These days, many teachers require kids to have an interactive notebook for each subject, even in the earliest grades! Make your child’s notebooks into those they’ll actually want to use, and in a practical way to boot! A chalkboard notebook allows students unique way to write erasable assignment reminders right on the cover!
Take a composition notebook and paint a coat of chalkboard paint on the front cover and allow it to dry. Apply another coat or two and repeat this process for the back cover. After the notebook is completely dry, use colorful letter stickers to spell out the name of the subject the book will be used for. Optionally, reinforce the binding by covering it with colorful duct tape. Decorate the cover with stickers but leave a large space for messages to be written. Give your child chalk to write messages on top of the notebook, like assignment reminders!
If you and your children already love crafting, chances are you have art materials around the house to dress up plain, inexpensive school supplies. Try out the above DIY school supplies for back to school to kick off the academic year in a fun and positive way!


