3 Science Experiments Using the Scientific Method
July 1, 2018
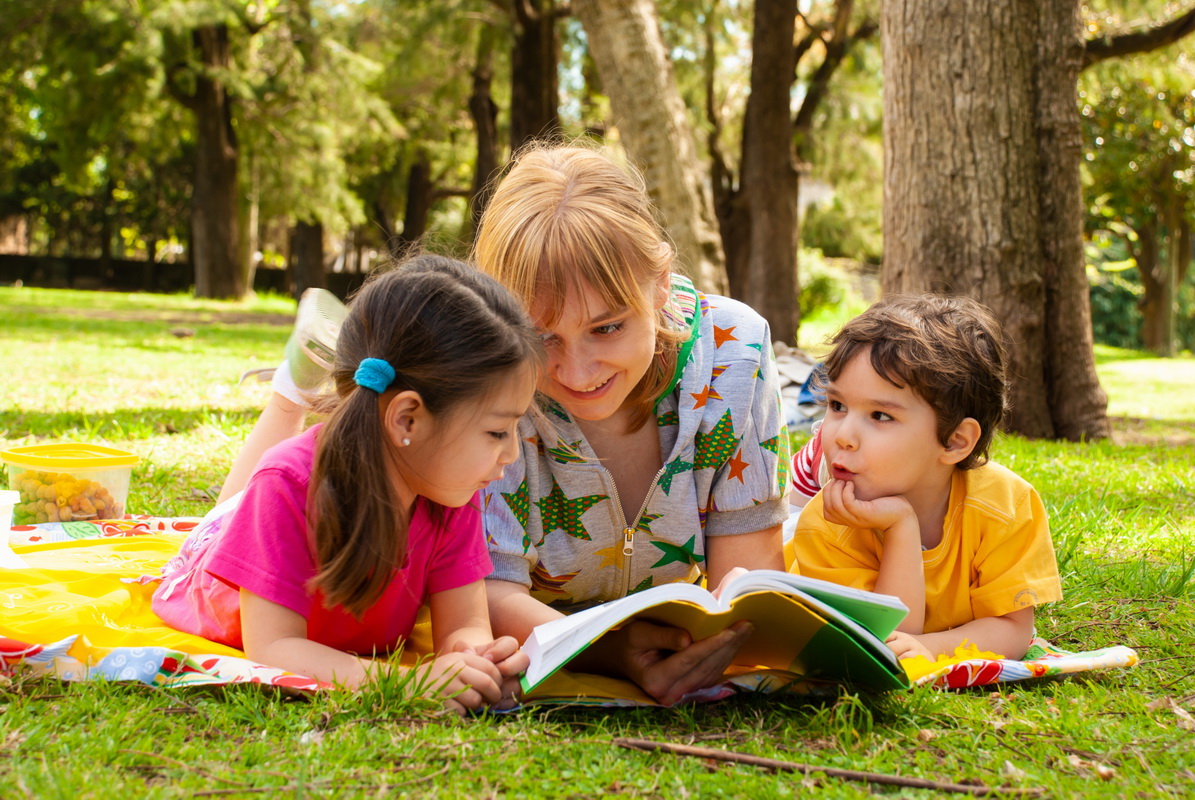
If you’ve ever conducted a scientific experiment with your child, you’ve probably noticed that most kid-friendly experiments rely heavily upon observation. For most of your child’s life, he or she has been asked to observe a reaction or result of an experiment to learn about the underlying scientific principal.
What Exactly is Scientific Method?
You’ve probably heard of the scientific method, and used it yourself when you were in school. The scientific method is used by scientists to ensure that the results of their experiments are reliable and valid. When kids use the scientific method, they learn more and think critically, asking questions and making predictions about their experiments.
Scientists start with a question they want to answer, which serves as a goal and sets a purpose for the experiment. This is the most important part! Every experiment should start with a big question that guides the research being conducted. Next, participants form a hypothesis, or a prediction based on prior knowledge. After gathering materials needed for the experiment, the procedure is conducted and scientists make observations and record data and results. Finally, a conclusion is reached and published.
Your child can emulate this process at home by simply modifying each experiment to include a big question, and a hypothesis that will drive their experiment and process. Let’s explore ideas for 3rd grade science experiments using the scientific method! Learn more how to incorporate science into your child's routine.
Experiment 1. Which Liquids Melt the Fastest?
Simple scientific method experiments should be easy and fun and include everyday supplies you can find in your own home! This experiment will help your child understand how various household liquids melt at different rates.
For detailed instructions to complete this experiment, and for even more information on using the scientific method with your child, check out the full video guided by Kids Academy teacher!
Materials Needed:
- Different liquids, like milk, water, iced tea, and orange juice
- Ice cube trays
- Freezer
Experiement 2. How Does Water Travel from Roots to Leaves?
Has your child ever wondered why a plant’s leaves are supple and moist? When we water plants, how does the moisture travel from the roots to the leaves? This experiment teaches kids about the xylem tubes that transport water through plants through the process of capillary action!
Materials Needed:
- 3 clear, glass jars
- 3 different colors of food coloring
- 3 celery stalks
- Knife
- Water
Step 1: Help your child form a big question before getting started.
Step 2: Encourage your child to make predictions based on their prior knowledge. For instance, plants are alive, just like people, and may have cells or structures that transport the water from roots to tip.
Step 3: Gather the above materials.
Step 4: Cut the bottom off the celery stalks, about one inch from the base.
Step 5: Fill each jar about half way with water. Add a few drops of food coloring to each, ensuring that each jar is a different color.
Step 6: Place a stalk of celery in each jar and let them sit for about 20 minutes to an hour.
Step 7: Observe the results! Rip apart the stalks to see how the coloring travels through each stalk. Notice how the color reaches the leaves at the very tip of the stalk!
Step 8: Record results and help your child draw a conclusion.
Explain to your child that xylem tubes are structures in plants that carry water from the roots up through the tip of the plant. This process is called capillary action, and it works a lot like a straw sucking the water up through the plant!
Experiment 3. Does it Dissolve?

Do all substances dissolve in water? Kids explore the varying levels of solubility of common household substances in this fun-filled experiment!
Materials Needed:
- 4 clear, glass jars filled with plain tap water
- Flour
- Salt
- Talcum or baby powder
- Granulated sugar
- Stirrer
Step 1: Help your child form a big question before starting the experiment.
Step 2: Make a hypothesis for each substance. Perhaps the salt will dissolve because your child has watched you dissolve salt or sugar in water when cooking. Maybe the baby powder will not dissolve because of its powdery texture. Help your child write down his or her predictions.
Step 3: Scoop a teaspoon of each substance in the jars, only adding one substance per jar. Stir it up!
Step 4: Observe whether or not each substance dissolves and record the findings!
Your child will likely note that that sugar and salt dissolve, while the flour will partially dissolve, and the baby powder will remain intact. The grainy crystals of the sugar and salt are easily dissolved in water, but the dry, powdery substances are likely to clump up or remain at the bottom of the jar.
As you can see, the scientific method is easy to work into your child’s scientific experiments. Not only does it increase your child’s scientific learning and critical thinking skills, but it sparks curiosity and motivates kids as they learn to ask questions and prove their ideas! Get started today with the above ideas, and bring the scientific method home to your child during your next exciting science experiment!